


Halloween – a favorite time of year for many of us! Three great images to help you have fun with the fall season. Check George Schill’s portfolio for more great art!

Cliff Knecht Artist Representative
Your trusted illustration resource for over 20 years // Call me at +1 412 761 5666
As most of us know the legend of St. Nicholas goes back hundreds upon hundreds of years to various European countries. He had different names depending on the country and some historians believe that a Bishop in Asia Minor became St. Nicholas as far back as 325 A.D.! Legend states that after his death on December 6 he was adopted as the patron saint of children and this became St. Nicholas Day. For centuries, children were visited on that night by a gift bearing old man with a long white beard who rode on a horse. Over the years he went through many name changes – Father Christmas, Pere Noel, etc. depending on country and religion and he also developed a split personality or alter ego – meaning he could either reward or punish. That brings me to my name – Knecht – and German heritage! In Germany, St. Nicholas’ alter ego was Knecht Rupert who rewarded good children with fruit but in most cases arrived to frighten the naughty ones. Maybe I’m related to him! Many years ago I acquired this original newspaper illustration of Knecht Rupert from the December 25, 1880 issue of The Queen – notice the frightened looks of two of the children!
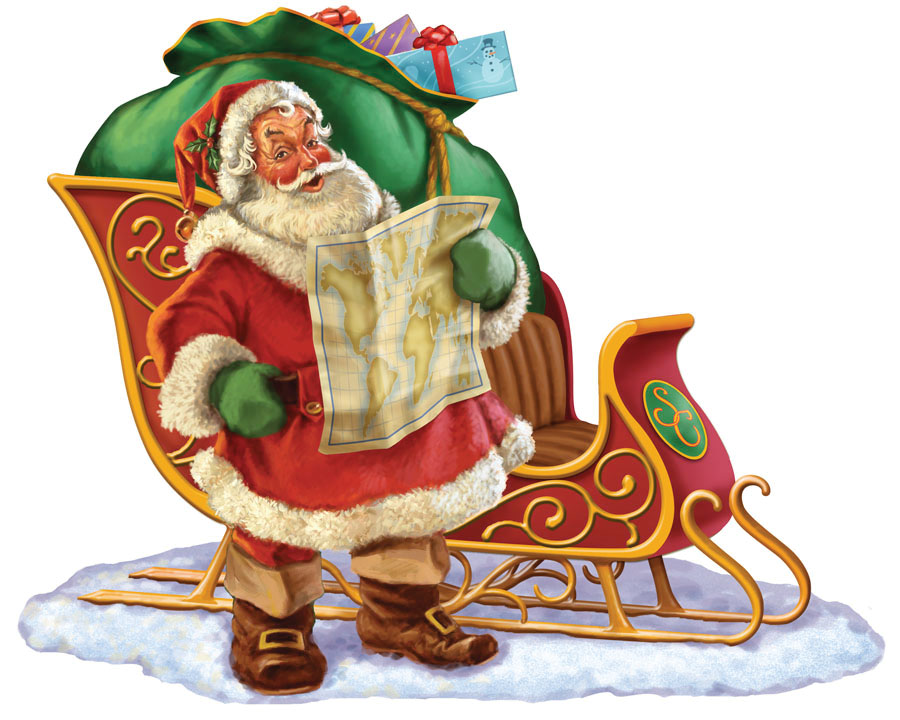
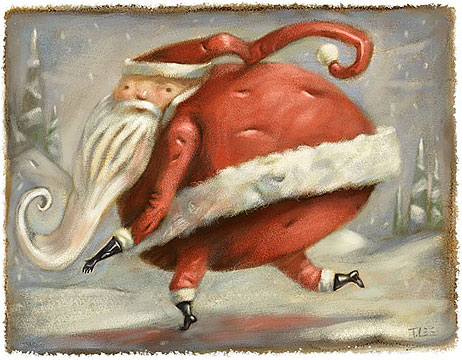
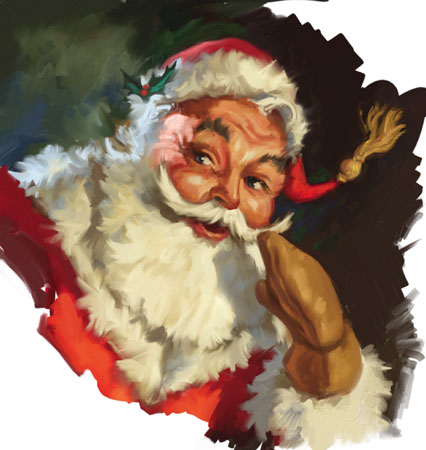
Our modern Santa Claus is a composite figure, drawn from the history, legends, and folklore of many countries. He evolved from a Saint, was demoted to a somewhat evil gift bearer at times, and finally became the jolly, robust character that children know and love today. Over the years our artists have illustrated many Santas for Christmas projects – here are a few of them. Enjoy them – they will bring a smile to your face during this holiday season!


When talking to clients about my work as an illustrator, one of the most frequently asked questions is how I go about painting assignments digitally. So here is a step by step procedural, taking a painting from initial drawing to fully rendered, final art.
Santa Claus has been a frequent illustration subject over the years and I have several different treatments of Santa figures drawn up in my sketchbook. I chose one of those to use as the basis for this demo.

Nearly all of my work begins with a traditional pencil on paper drawing. The drawing gets scanned into my system and opened in Photoshop, where it can be cleaned up and adjusted. I like to work on a toned background, so I import a favorite backdrop and use it as a base layer. The drawing layer, now floating above the Background, is changed to a Multiply layer style, made to look like a sepia ink drawing, and the opacity is lowered to 50%.

I move the art to Painter, which I like to use for it’s natural look and feel. I create a new layer, between the canvas pencil layers, and paint in some basic values with an airbrush tool. A background is created to give Santa an environment to stand in.

On another new layer, I begin to lay in local color. I like Painter’s Chalk and Pastel brush categories and use them often, here with Flat Cover on basic paper settings, to give a firmer edge. I like to work over the entire painting at the same time, moving between background and foreground.

Color block-in continues. I want some texture in the illustration, so I use Painter’s Square Chalk brush variant with a heavily textured paper setting on the walls. The drawing remains the top layer acting as a blueprint to keep everything on track.

When the basics are laid down I begin to refine the painting, adding color and rendering form. The moon is added outside the window as a source for some rim light on Santa.

At this point I am far enough along that I can collapse most of the layers into one. I always make a duplicate of the drawing layer first, in case I need to use it as a reference point later on. I usually work with as few layers as practical. This allows the painting tools to interact in a much more natural, traditional media, way.

A view of trees and snow outside gives Santa a winter setting, and the diamond pattern adds an Old World look to the window.

All that’s left now are a few details. Santa gets some overstuffed pockets, the wall gets a trim board, a bit of flash here and there, some minor tweaks, and the painting is complete.
